DirSync to Azure Active Directory Connect Migration
Happy New Year vBrisketeers! I hope that everyone had a Merry Christmas and Happy New Year.
I thought that I would share a blog with everyone about a Microsoft project that I recently completed at work. This article describes the parallel migration from Directory Synchronization (DirSync) to Azure Active Directory Connect. The migration I performed consisted of my current server that hosts DirSync, which is a Windows 2008 R2 virtual server. The destination server that hosts Azure Active Directory Connect is a Windows 2016 server. Both servers contain a C: drive and E: drive.
**Note** – On April 13th, 2017, DirSync will no longer be supported by Microsoft.
Brief Introduction:
DirSync (Directory Synchronization) is an identity provisioning tool built on top of FIM (Forefront Identity Manager) that syncs a copy of an organization’s local Active Directory environment to the Microsoft Azure cloud. DirSync runs every three hours to push changes from the on-premises directory to the cloud instance. The sync cycle can be adjusted if needed to fit your environment’s needs. In our environment, DirSync only provisions from on-premises to the cloud. If an administrator were to create a new user in the Windows Azure Active Directory tenant, that user would live only in the cloud and would never be propagated down to my on-premises Active Directory, thus creating an un-federated identity. The primary reason we use Dirsync is to federate/integrate our internal Active Directory environment with Office 365 for Exchange Online email and other Office 365 features.
During this migration, Azure Active Directory Connect will be fully replacing DirSync. Azure Active Directory Connect is Microsoft’s latest identity provisioning tool built on top of MIM (Microsoft Identity Manager). When an organization has more than 50,000 objects, a parallel deployment to Azure Active Directory Connect is recommended. Our organization has about 25,000 objects, and the recommended upgrade path is usually an in-place upgrade. But since I want to install Azure AD Connect on a new Windows 2016 Server, a parallel migration was my preferred path.
Prerequisites:
Please make sure to read the Microsoft article for the Prerequisites for Azure AD Connect before implementing Azure AD Connect into your environment:
Download the latest Azure Active Directory Connect bits from the following Microsoft site:
https://www.microsoft.com/en-us/download/details.aspx?id=47594&wa=wsignin1.0
Steps for Migration from the source Windows 2008 Dirsync server:
These steps below will ensure that you export your current DirSync configuration and all of your customization (if any) to a file, which will then be imported to the new Azure AD Connect server several steps later.
- From the current DirSync server, run the Azure AD Connect Windows Installer Package (.msi)
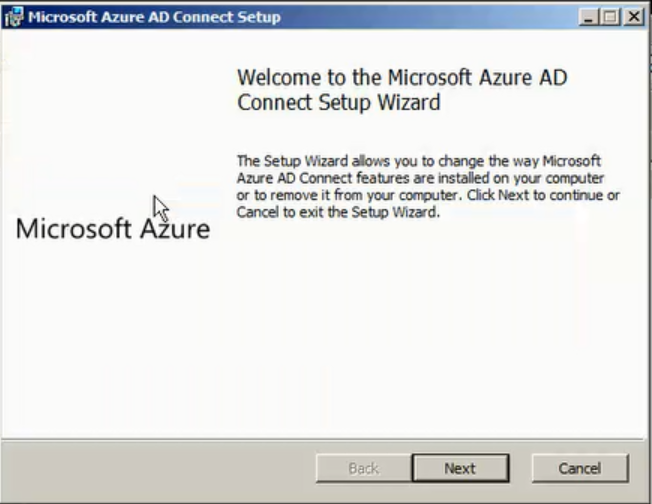
- When you see the “Welcome to the Microsoft Azure AD Connect Setup Wizard” page, exit the wizard.
 You will need to open a command prompt now.
- From the install location of Azure AD Connect, run the following command: AzureADConnect.exe /ForceExport
 5.The following screen will appear. Click the Export settings button. These are the settings that will later be exported to your new Azure AD Connect server.
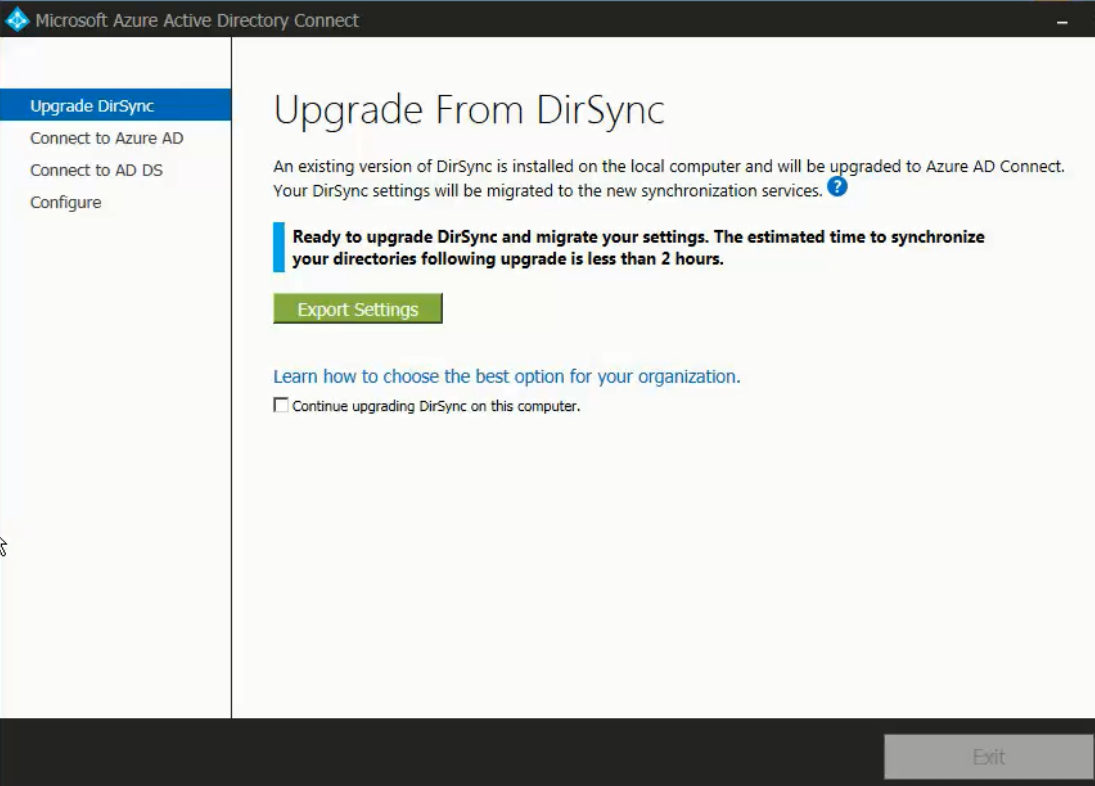 6. Once all of the settings have been exported to a DirSyncSettings.xml file, you can exit the Azure AD Connect wizard on the DirSync server.
At this point, you are ready to install Azure Active Directory Connect on your Windows 2016 Server. In addition, these steps will cover the configuration export from the Windows 2008 DirSync server.
7.From your new Azure Active Directory Connect server, run the Azure AD Connect Windows Installer Package (.msi)
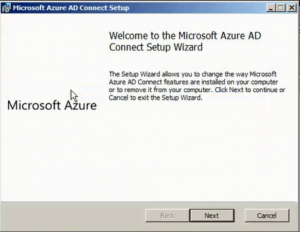
8. When you see the “Welcome to the Microsoft Azure AD Connect Setup Wizard” page, exit the wizard.
 9. You will need to open a command prompt now.
10. From the install location of Azure AD Connect, run the following command: AzureADConnect.exe /migrate
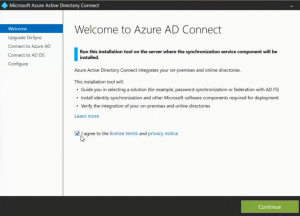
![]() 11. A “Welcome to Azure AD Connect” screen will pop up. Accept the license terms and privacy notice at this screen.
11. A “Welcome to Azure AD Connect” screen will pop up. Accept the license terms and privacy notice at this screen.
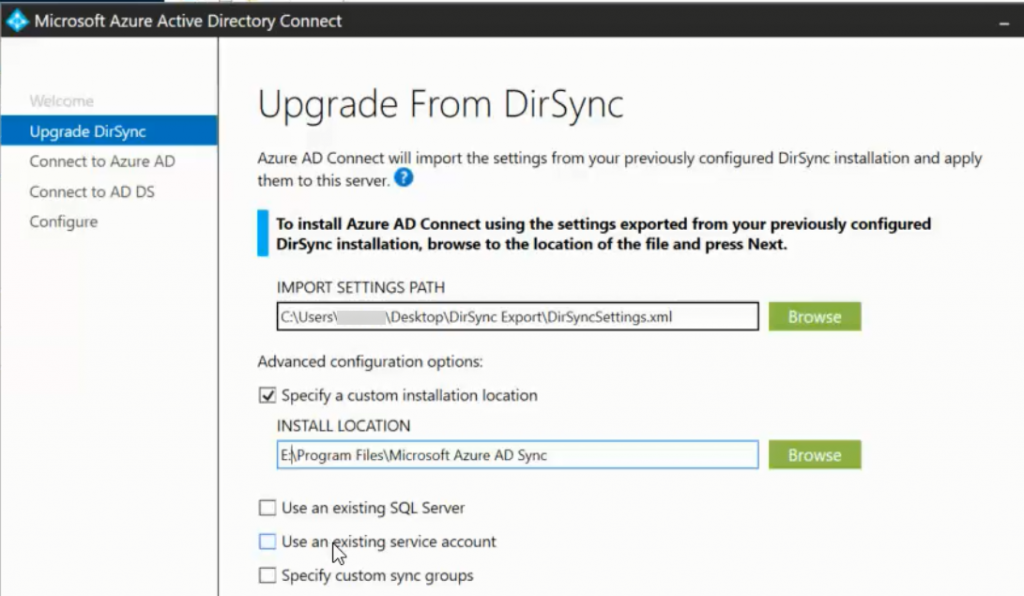
12. At the Upgrade from DirSync screen, choose your import settings path from your current DirSyncSettings.xml file that you saved. Next, choose your install path at the Install location section. I like to put my installs on the E:drive, so I changed the default path to E:\Program Files\Microsoft Azure AD Sync
13. At the Connect to Azure AD screen, enter global administrator credentials to continue. This will be an account similar to admin@livevbrisket.onmicrosoft.com
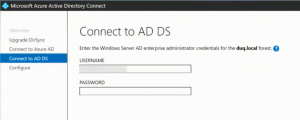
14. At the Connect to AD DS screen, enter an Active Directory enterprise administrator account for the AD forest you will be syncing to Azure.
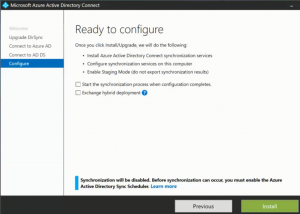
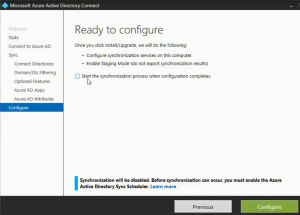
15. On the Ready to Configure screen, I unchecked the start the synchronization process when the configuration completes option because I want to stage the install first to see how long it will actually take to run in production. At this point, your server is now in staging mode.
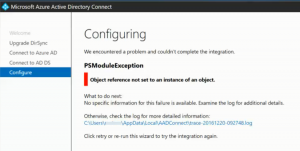
16. When I first ran the install option, I received an error. The error was due to the fact that a firewall rule needed to be opened for Azure AD Connect (port 9090). This port was not an issue for the old DirSync client, but it is needed for Azure AD Connect
17. After the port was opened on our firewall, the installation completed successfully.
18. You can exit out the wizard and then open the new Azure AD Connect software. Now you are ready to add any customization to your Azure AD Connect configuration.
19. At this point, you can customize domain/OU/attribute/user account filtering etc. I customize my configuration through the Synchronization Rules Editor. *Note* – I will cover these configurations in another blog post.
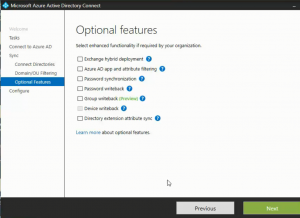
20. At this point, you can configure Optional Features if you plan on utilizing them in your environment. I utilize Active Directory Federation Services (ADFS) in my environment to authenticate to Azure, therefore; I do not utilize the Azure AD Connect password synchronization feature.
21. After all of your attribute customization is complete, you will see the following screen. At this point we are still not ready to fully sync out yet as a few more steps are needed, therefore; do not select the check box that says to “Start the synchronization process when configuration completes.”
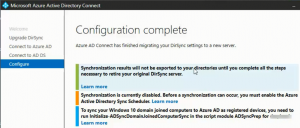
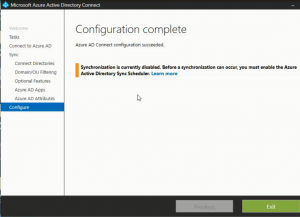
22. Since I chose to stage the installation first, the final configuration screen will look like this. Azure AD Connect will not try to sync out to the Azure cloud until I enable the Azure AD Sync Scheduler.
23. Before I ran the staging process, I chose to stop the DirSync services from running on my Windows 2008 server to avoid any syncs to Azure from occurring at this time.
24. Once all services are stopped, I connect to my new server and start the initial full sync to Azure by running the following command from the command line.
Remember that this is only the staging process state, as only one synchronization tool can be actively exporting changes at a time to Microsoft Azure. I now examine the sync process through the Synchronization Service Manager.
25. Now that I have run the staging process and have an estimate of how long it will take to sync my environment to Microsoft Azure without any errors (could take several hours depending on your environment), I will need to completely remove the Windows Azure Active Directory Sync Tool from my “old” DirSync server through the Programs and Features option.
26. You are now ready to have Azure AD Connect take over from DirSync and begin synchronizing real data to Azure.
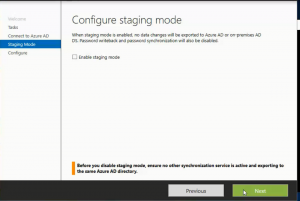
27. Re-open Azure AD Connect from the start menu and choose to de-select “Enable staging mode”
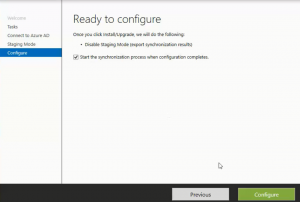
28. On the next page, choose to select “Start the synchronization process when configuration is complete” and choose Configure.
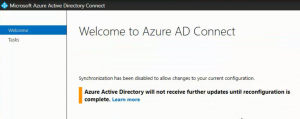
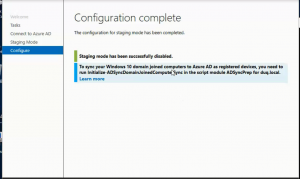
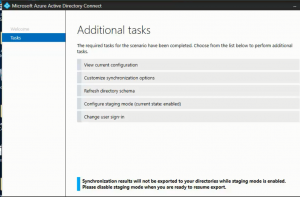
29. You will now see that Staging Mode has been disabled.
30. This will now kick off your first sync of your internal Active Directory data to Microsoft Azure from your new Azure AD Connect server!!
31. Once you confirm that your data synced out to the cloud without any errors, you can set your ADSyncScheduler to the customized sync cycle interval by running the following command:
In the above example, I set my cycle to sync every 3 hours, which was the default back in the DirSync days. The new Azure AD Connect sync tool is set to 30 minutes by default.
32. If you want to run manual delta syncs in the future to sync objects to the cloud before your scheduled sync cycle runs, you can always run the following command for an immediate sync to Azure.
33. At this point, the migration is now complete. Happy Syncing!!!
