VMware Homelab Layout
Now that I have my VMware Homelab built and somewhat configured, I have decided to move it to a new location. The basement is my best logical choice since my daughters both share a room and I am losing my man cave. I said I was never giving it up, but the basement will have to do. Atleast it’s close to my wine racks, I will need to make sure I have a corkscrew handy.
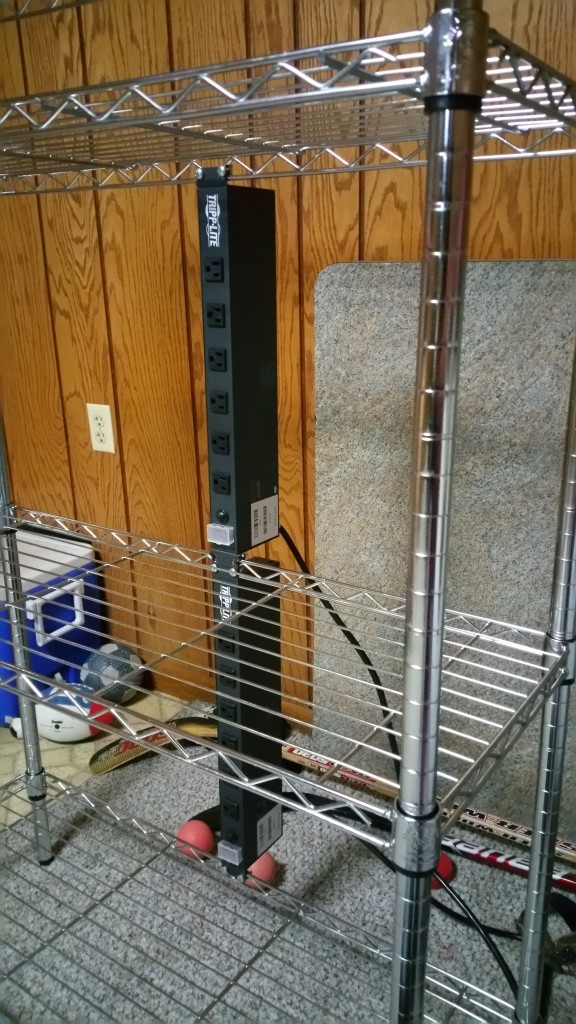
I bought a 4-Tier Shelf Rack at Lowes and put it together the other night, pretty easy to assemble and it is nice and sturdy. It has 4 racks, made from steel and holds up to 350 lbs.
The first thing I wanted to dod , was to make sure I kept my design clean and the wiring under control. I also wanted enough space to be able to add other components to the home lab in the future. So I decided to use 2 Tripp Lite power strips, you can’t have enough outlets. I mounted them on the back of the rack, it worked out well because of the spacing of the shelves. They do stick out in the back but I do not plan on pushing the finished rack all the way to the wall, plenty of room for air to circulate.
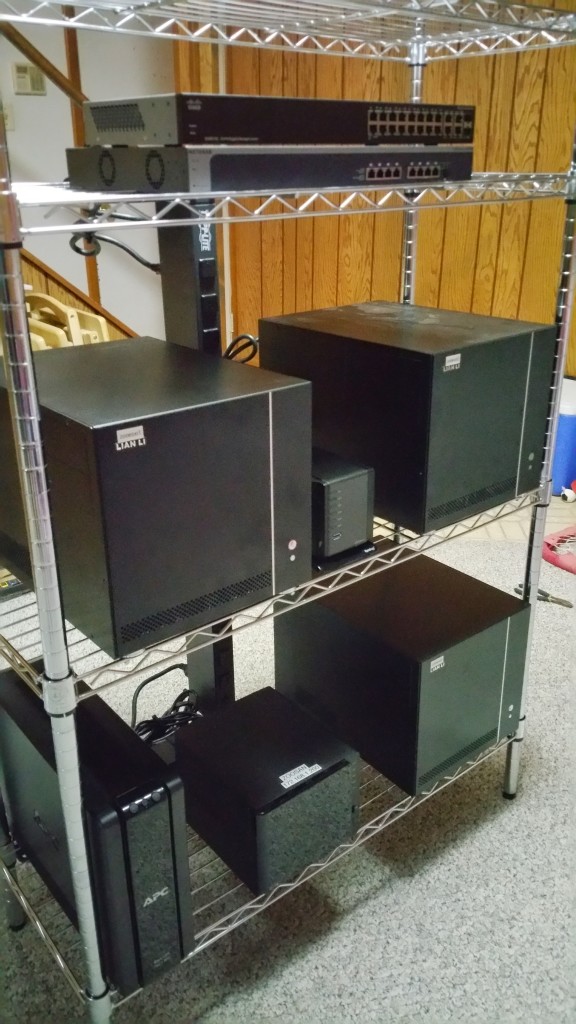
Next I wanted to figure out how I wanted to arrange everything. I came up with this layout for now, but I may change it a few times until I get it just how I want it.
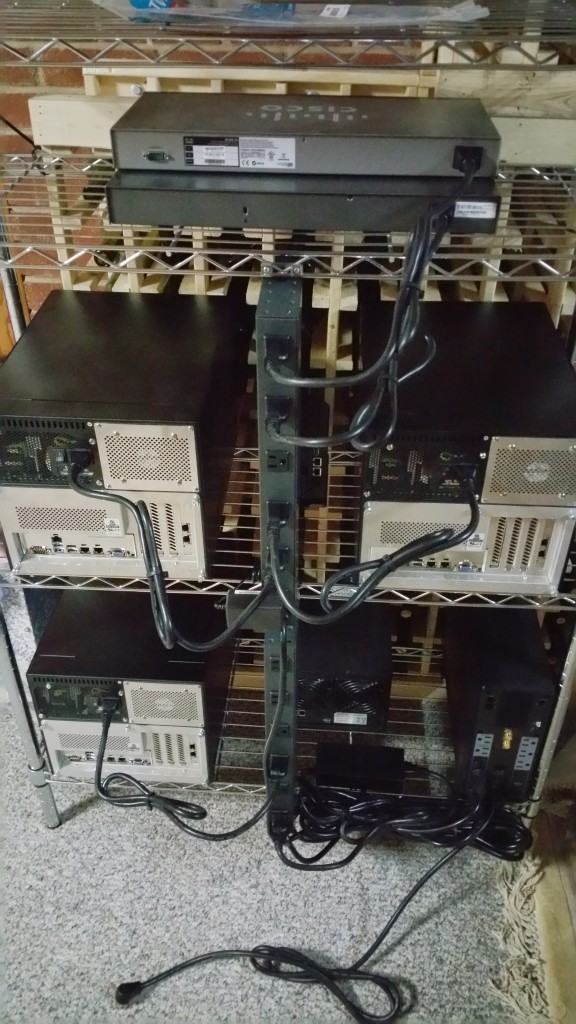
Now that I have the layout where I want things, it’s time to start cabling the power. I used 3 foot power cords and filled in the front of the power strips with blanks and used the receptacles in the back with both power strips plugged into a UPS. After about 40 black wire ties, I was done and came up with the following.
So far I am happy with the way it looks and in my next post I will be cabling the network and testing out the hardware to make sure I didn’t damage anything in the move. I may also buy the wheels for the rack so I can easily move it around if need be.


